Introduction
- Most plants have critical infrastructure, and information about their control and performance should not be accessible to individuals outside the plant or the company. However, due to the need for remote control and access from anywhere, the easiest option often becomes using a publicly accessible IP address which is highly insecure. This is where tunnelled communication comes in.
- In this n-part series, we explore how to set up a secure communication tunnel to access SCADA resources. We will begin with an overview of off-the-shelf industrial VPN solutions and then walk through the setup of a WireGuard server to host a VPN tunnel. The WireGuard server will be deployed on a Google Cloud Platform (GCP) instance.
Off-the-Shelf Industrial VPN Solutions
Some of the commonly used off-the-shelf VPN solutions in industrial environments include Ewon (by HMS Networks), Tosibox, and Teltonika, among others. The main advantage of these solutions is that they are relatively easy to set up and manage, provided the user has a stable internet connection.
However, for startups or personal projects with limited budgets, investing in such devices may not be feasible. In such cases, a more affordable and secure approach is to use open-source VPN solutions like WireGuard or OpenVPN. In this series, we will focus on WireGuard as our VPN solution of choice.
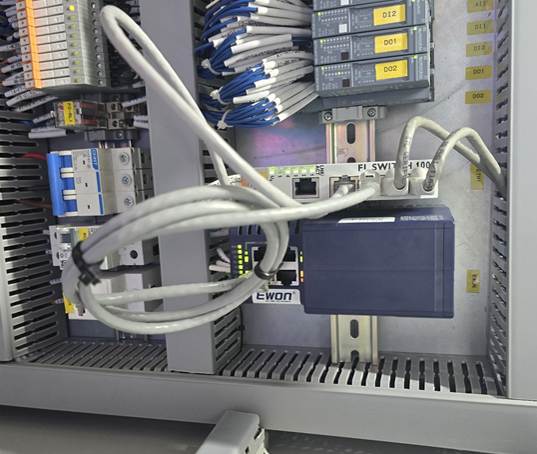
Sample Ewon Flexy in use:
Creating a WireGuard Tunnel Server on Google Cloud Platform (GCP)
A cost-effective, secure, and scalable VPN solution that can be used for remote SCADA access.
Prerequisites for the WireGuard server setup:
Make sure you have the following:
- A registered Google account.
- Access to the Google Cloud Platform (GCP).
- An active project (create one if needed).
Creating the WireGuard Server Instance
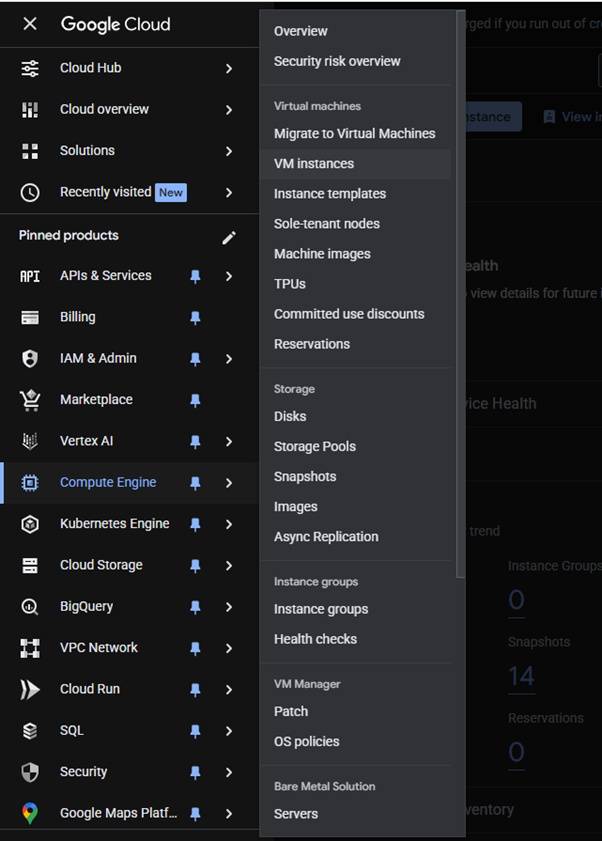
- Navigate to:
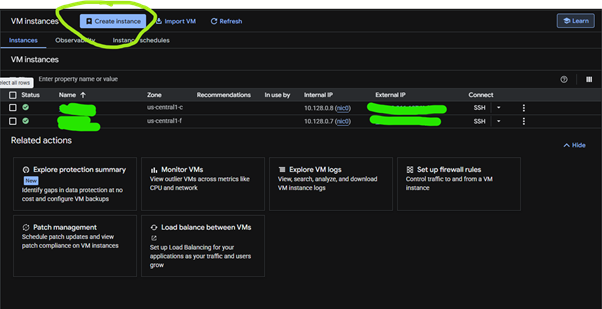
In your project, go to Compute Engine > VM Instances. - Click “Create Instance”, then use the settings below:
Instance Configuration
- Name: wg-server
- Region: Select a region close to you (e.g., us-central1)
- Zone: Any zone in that region
- Machine Type: e2-micro (2 vCPUs, 1 GB memory qualifies for free tier)
Boot Disk
- Operating System: Ubuntu 22.04 LTS (recommended)
- Disk Size: 10 GB (default is okay)
- Disk Type: Standard Persistent Disk
Firewall Settings
- Allow HTTP traffic
- Allow HTTPS traffic
Network Tags
- Add a tag such as: wg-server-firewall
(You’ll use this when creating custom firewall rules later)
Networking
- Enable IP Forwarding
(Essential for routing traffic through the VPN)
Advanced Options → Automation
To ensure you don’t get locked out when UFW is enabled, add this Startup Script under Automation:
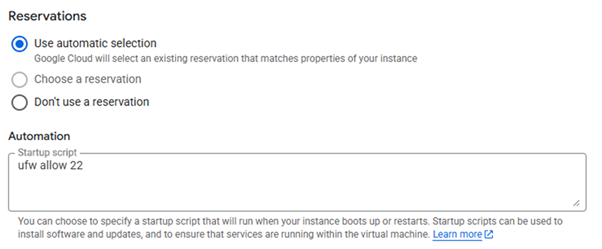
ufw allow 22
This command ensures that SSH (Port 22) remains open so you can access your instance after enabling firewalls.
You're now ready to Create and launch your instance.
Configuring Firewall Rules in Google Cloud
To allow incoming traffic to your WireGuard server, you need to configure custom firewall rules.
Steps:
- Go to VPC Network > Firewall
- Click “Create Firewall Rule”
Use the following parameters:
- Name: wg-firewall
- Logs: Off
- Network: default
- Direction of traffic: Ingress
- Action on match: Allow
- Targets: Specified target tags
- Target tags: wg-server-firewall (this must match the tag set during VM creation)
- Source filter: IPv4 ranges
- Source IPv4 ranges: 0.0.0.0/0 (allow traffic from any IP address)
Protocols and Ports
Enable only the required ports:
- TCP:
- 22 – For SSH access to the server
Then click Create.
Result
You've successfully created a Google Cloud VM instance and opened essential ports for remote access and SCADA tunnelling.
Estimated cost: Hosting this instance (e2-micro) will typically cost around $7/month outside the free tier, depending on your region and usage.
Connecting to the Instance via SSH
- Return to Compute Engine > VM Instances
- Click SSH next to your wg-server instance to open a terminal in your browser

Note: GCP assigns a random external IP address to your VM.
This IP is crucial as it will be referenced as the Endpoint in your WireGuard server configuration file.
You've successfully created a Google Cloud VM instance and opened essential ports for remote access and SCADA tunnelling.
Installing and Configuring WireGuard on the GCP Server
Once you're connected to the server via SSH, follow these steps to get WireGuard up and running:
1. Update the System
sudo apt update && sudo apt upgrade -y2. Install WireGuard
sudo apt install wireguard -y3. Generate Server Keys
sudo bash -c 'wg genkey | tee /etc/wireguard/server_private_key | wg pubkey > /etc/wireguard/server_public_key' This will create and store the server's keys at:
/etc/wireguard/server_private_key
/etc/wireguard/server_public_key
Retrieve and copy them for later use:
sudo cat /etc/wireguard/server_private_key
sudo cat /etc/wireguard/server_public_key
Save these keys securely. You’ll need them when configuring peers.
4. Create the WireGuard Configuration File
Open the configuration file:
sudo nano /etc/wireguard/wg0.confPaste the following configuration, replacing <paste the server private key here> with your actual private key:
[Interface] Address = 10.0.0.1/24
ListenPort = 51820
PrivateKey = <paste the server private key here>
SaveConfig = true
[Peer]
PublicKey = <leave empty for now>
AllowedIPs = 10.0.0.2/32
Save and close the file with CTRL+O, ENTER, then CTRL+X.
5. Enable IP Forwarding
Temporary (takes effect immediately):
sudo sysctl -w net.ipv4.ip_forward=1
sudo sysctl -w net.ipv6.conf.all.disable_ipv6=1
To make it permanent, edit the system config file:
sudo nano /etc/sysctl.confUncomment or add the following lines:
net.ipv4.ip_forward=1
net.ipv6.conf.all.disable_ipv6=1
Save and exit the file, then apply the changes:
sudo sysctl -p6. Allow WireGuard Traffic via UFW
sudo ufw allow 51820/udp
sudo ufw enable
sudo ufw status
7. Client Configuration (Remote Site or Local Machine)
You can generate a key pair manually using:
wg genkey | tee client_private_key | wg pubkey > client_public_keyOr use the WireGuard app (on Windows/Linux/macOS/mobile) to create a new empty tunnel—this will automatically generate both keys.
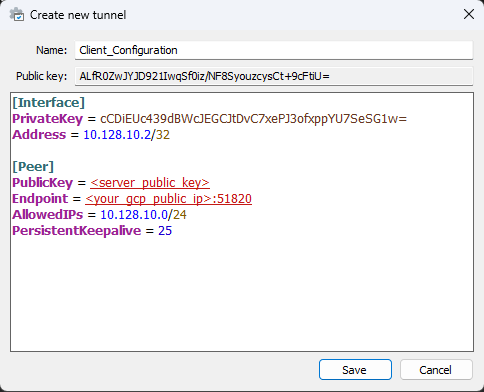
Update the Server Config with Client Details
Edit the same server config file:
sudo nano /etc/wireguard/wg0.confUpdate it to look like this (replace placeholders with actual key values):
[Interface]
Address = 10.0.0.1/24
ListenPort = 51820
PrivateKey = <server_private_key>
SaveConfig = true
PostUp = iptables -A FORWARD -i wg0 -j ACCEPT
PostDown = iptables -D FORWARD -i wg0 -j ACCEPT
[Peer]
PublicKey = <client_public_key>
AllowedIPs = 10.0.0.2/32
These PostUp and PostDown rules ensure devices in the VPN can route like they’re on the same LAN.
9. Start and Enable WireGuard
sudo systemctl start wg-quick@wg0
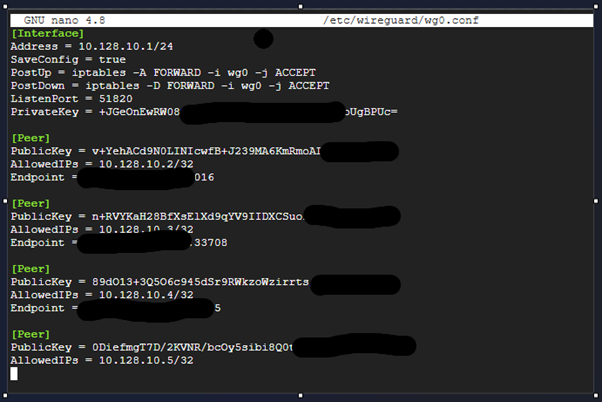
sudo systemctl enable wg-quick@wg0To Add More Clients Later
Bring the interface down:
sudo wg-quick down wg0- Add the new [Peer] block in wg0.conf with the new client's public key and IP (e.g., 10.0.0.3/32).
Bring the interface back up:
sudo wg-quick up wg0
My server connection with 4 peers
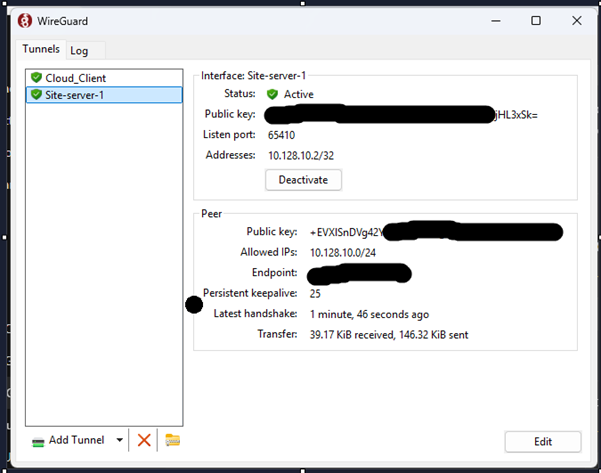
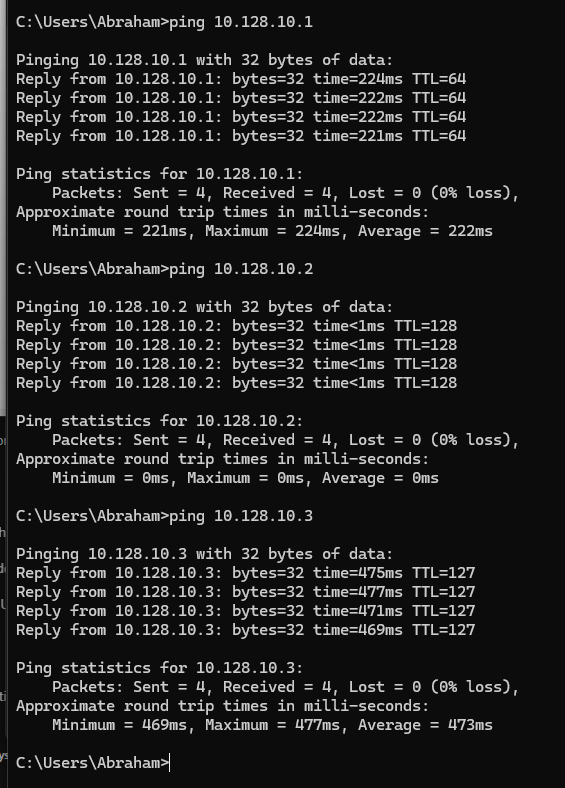
TEST
I can ping the following IP addresses from the client and the server: